Azure Storage Account Creation
Create an Azure Storage Account
Next, create an Azure Storage Account that will house the storage container. Below is a summarized version of the full documentation. If you already have an Azure Storage Account you can skip to creating the container.
To minimize Azure Storage costs:
- When creating the storage account:
- The HOT storage tier is the default behavior; we recommend NOT changing this tier
- Indicate Locally redundant storage only
- Create the storage account in your geographic region to prevent intra-regional fees
- Download as soon as the data is ready: from the same region or a Virtual Machine in the same region, to avoid intra-region egress fees.
- Delete the storage container/account once you have downloaded your watermarked data to stop further storage charges - storage fees accrue per GB per Month.
- Take advantage of the free 100 GB egress tier - if you can split the download into multiple days, you'll still stay within the free quota for the first 100 GB each month.
- Monitor with Azure Cost Management to verify that no unexpected operations (e.g. extra reads) are generating additional transaction fees.
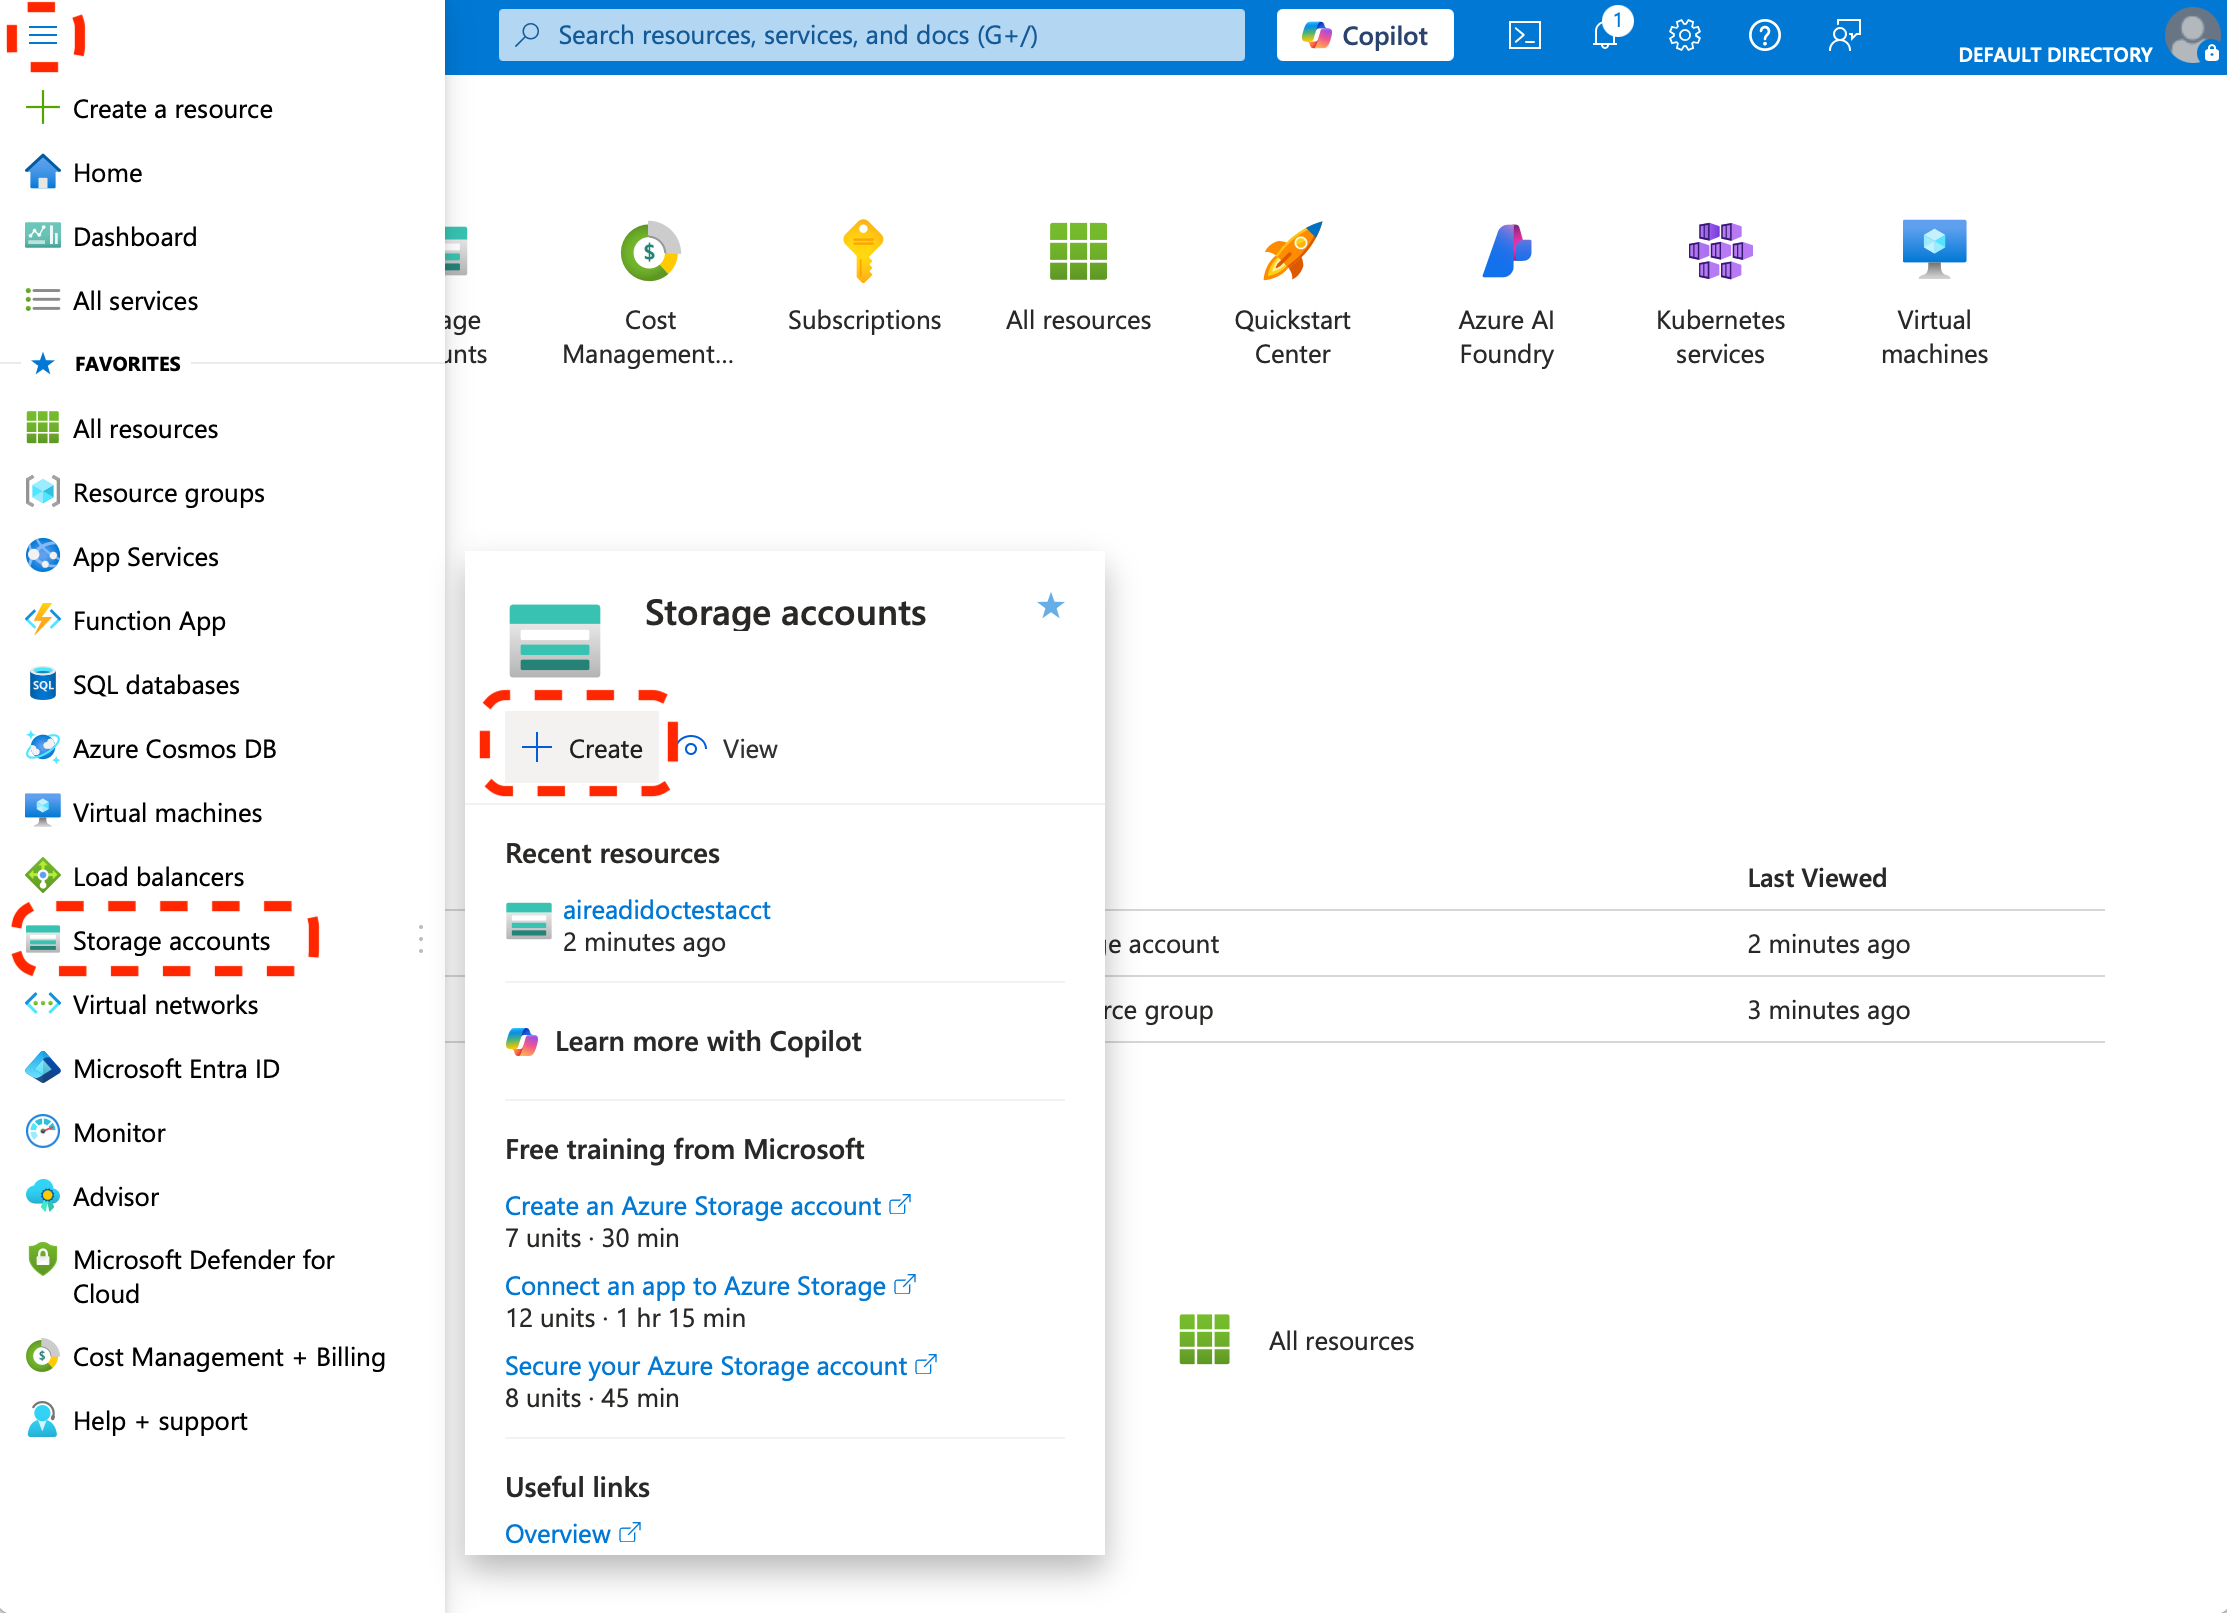
- Log in to the Azure Portal: https://portal.azure.com
- Search for "Storage accounts" in the top search bar and click "+ Create".
- Fill out the form:
- Subscription: Select your plan.
- Resource group: Use an existing one or create a new one.
- Storage account name: Choose a globally unique, lowercase name.
- Region: Choose a region closest to you to prevent intra-regional fees.
- Performance: Standard (default).
- Redundancy: Indicate locally-redundant storage (LRS) only.

-
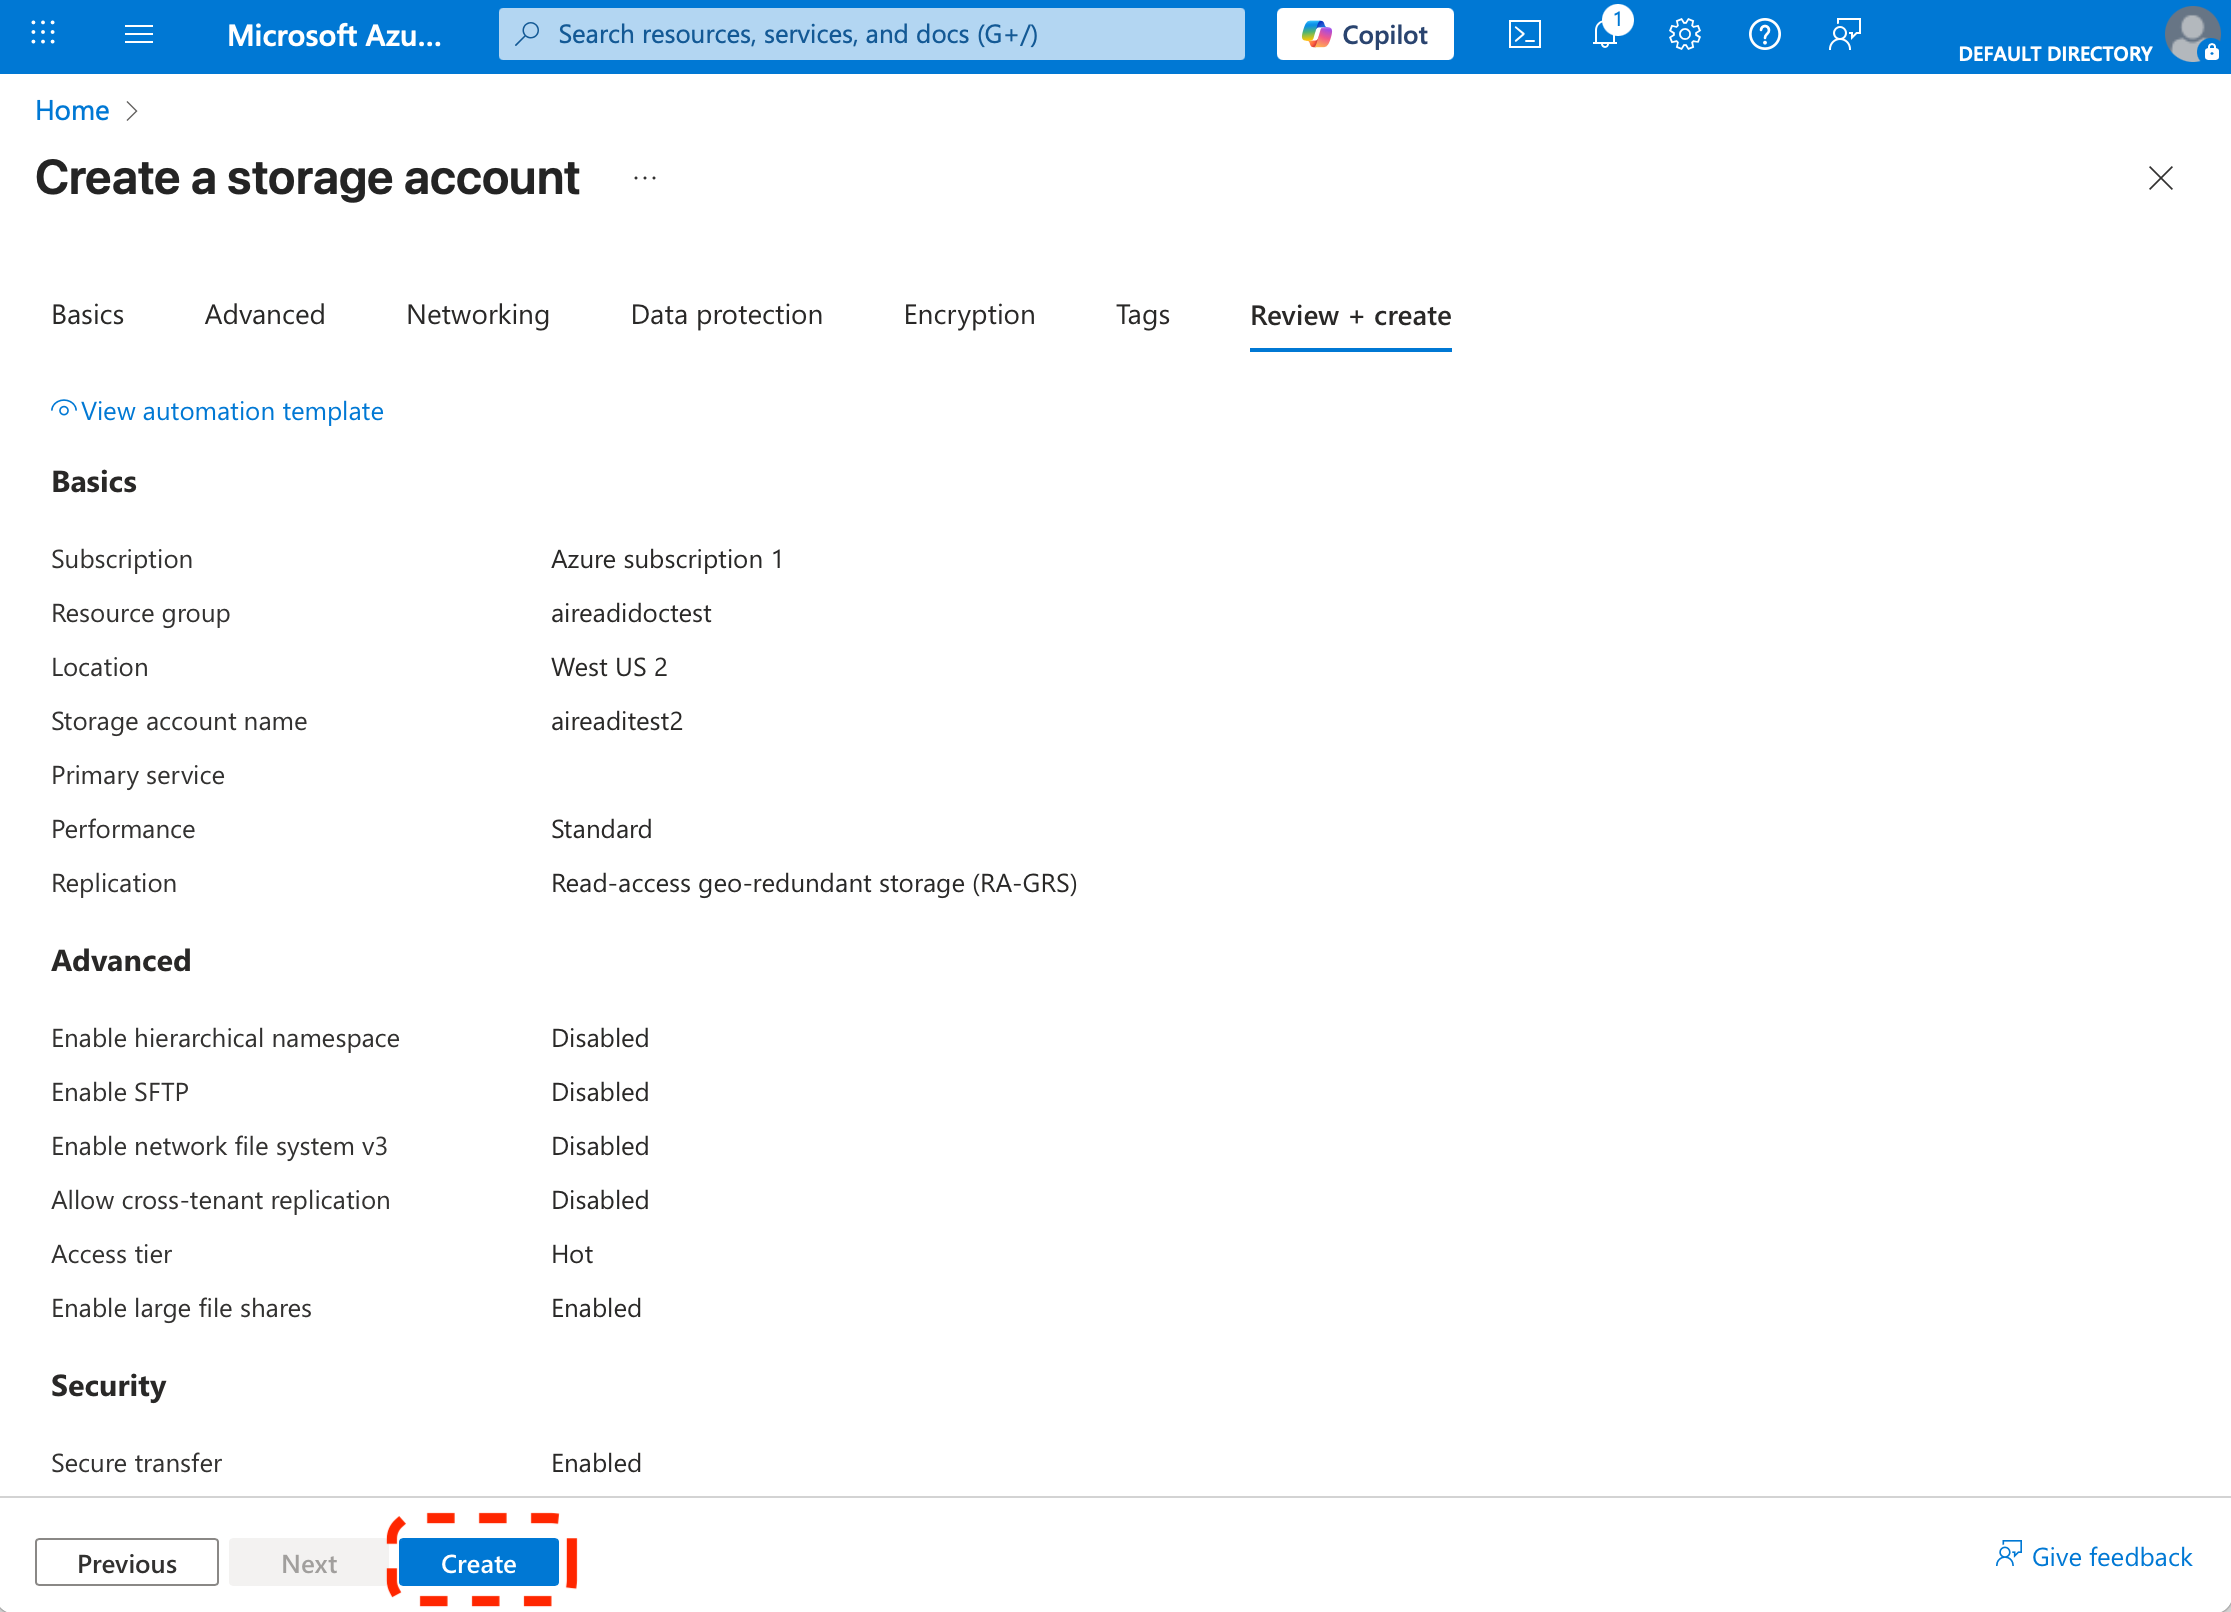
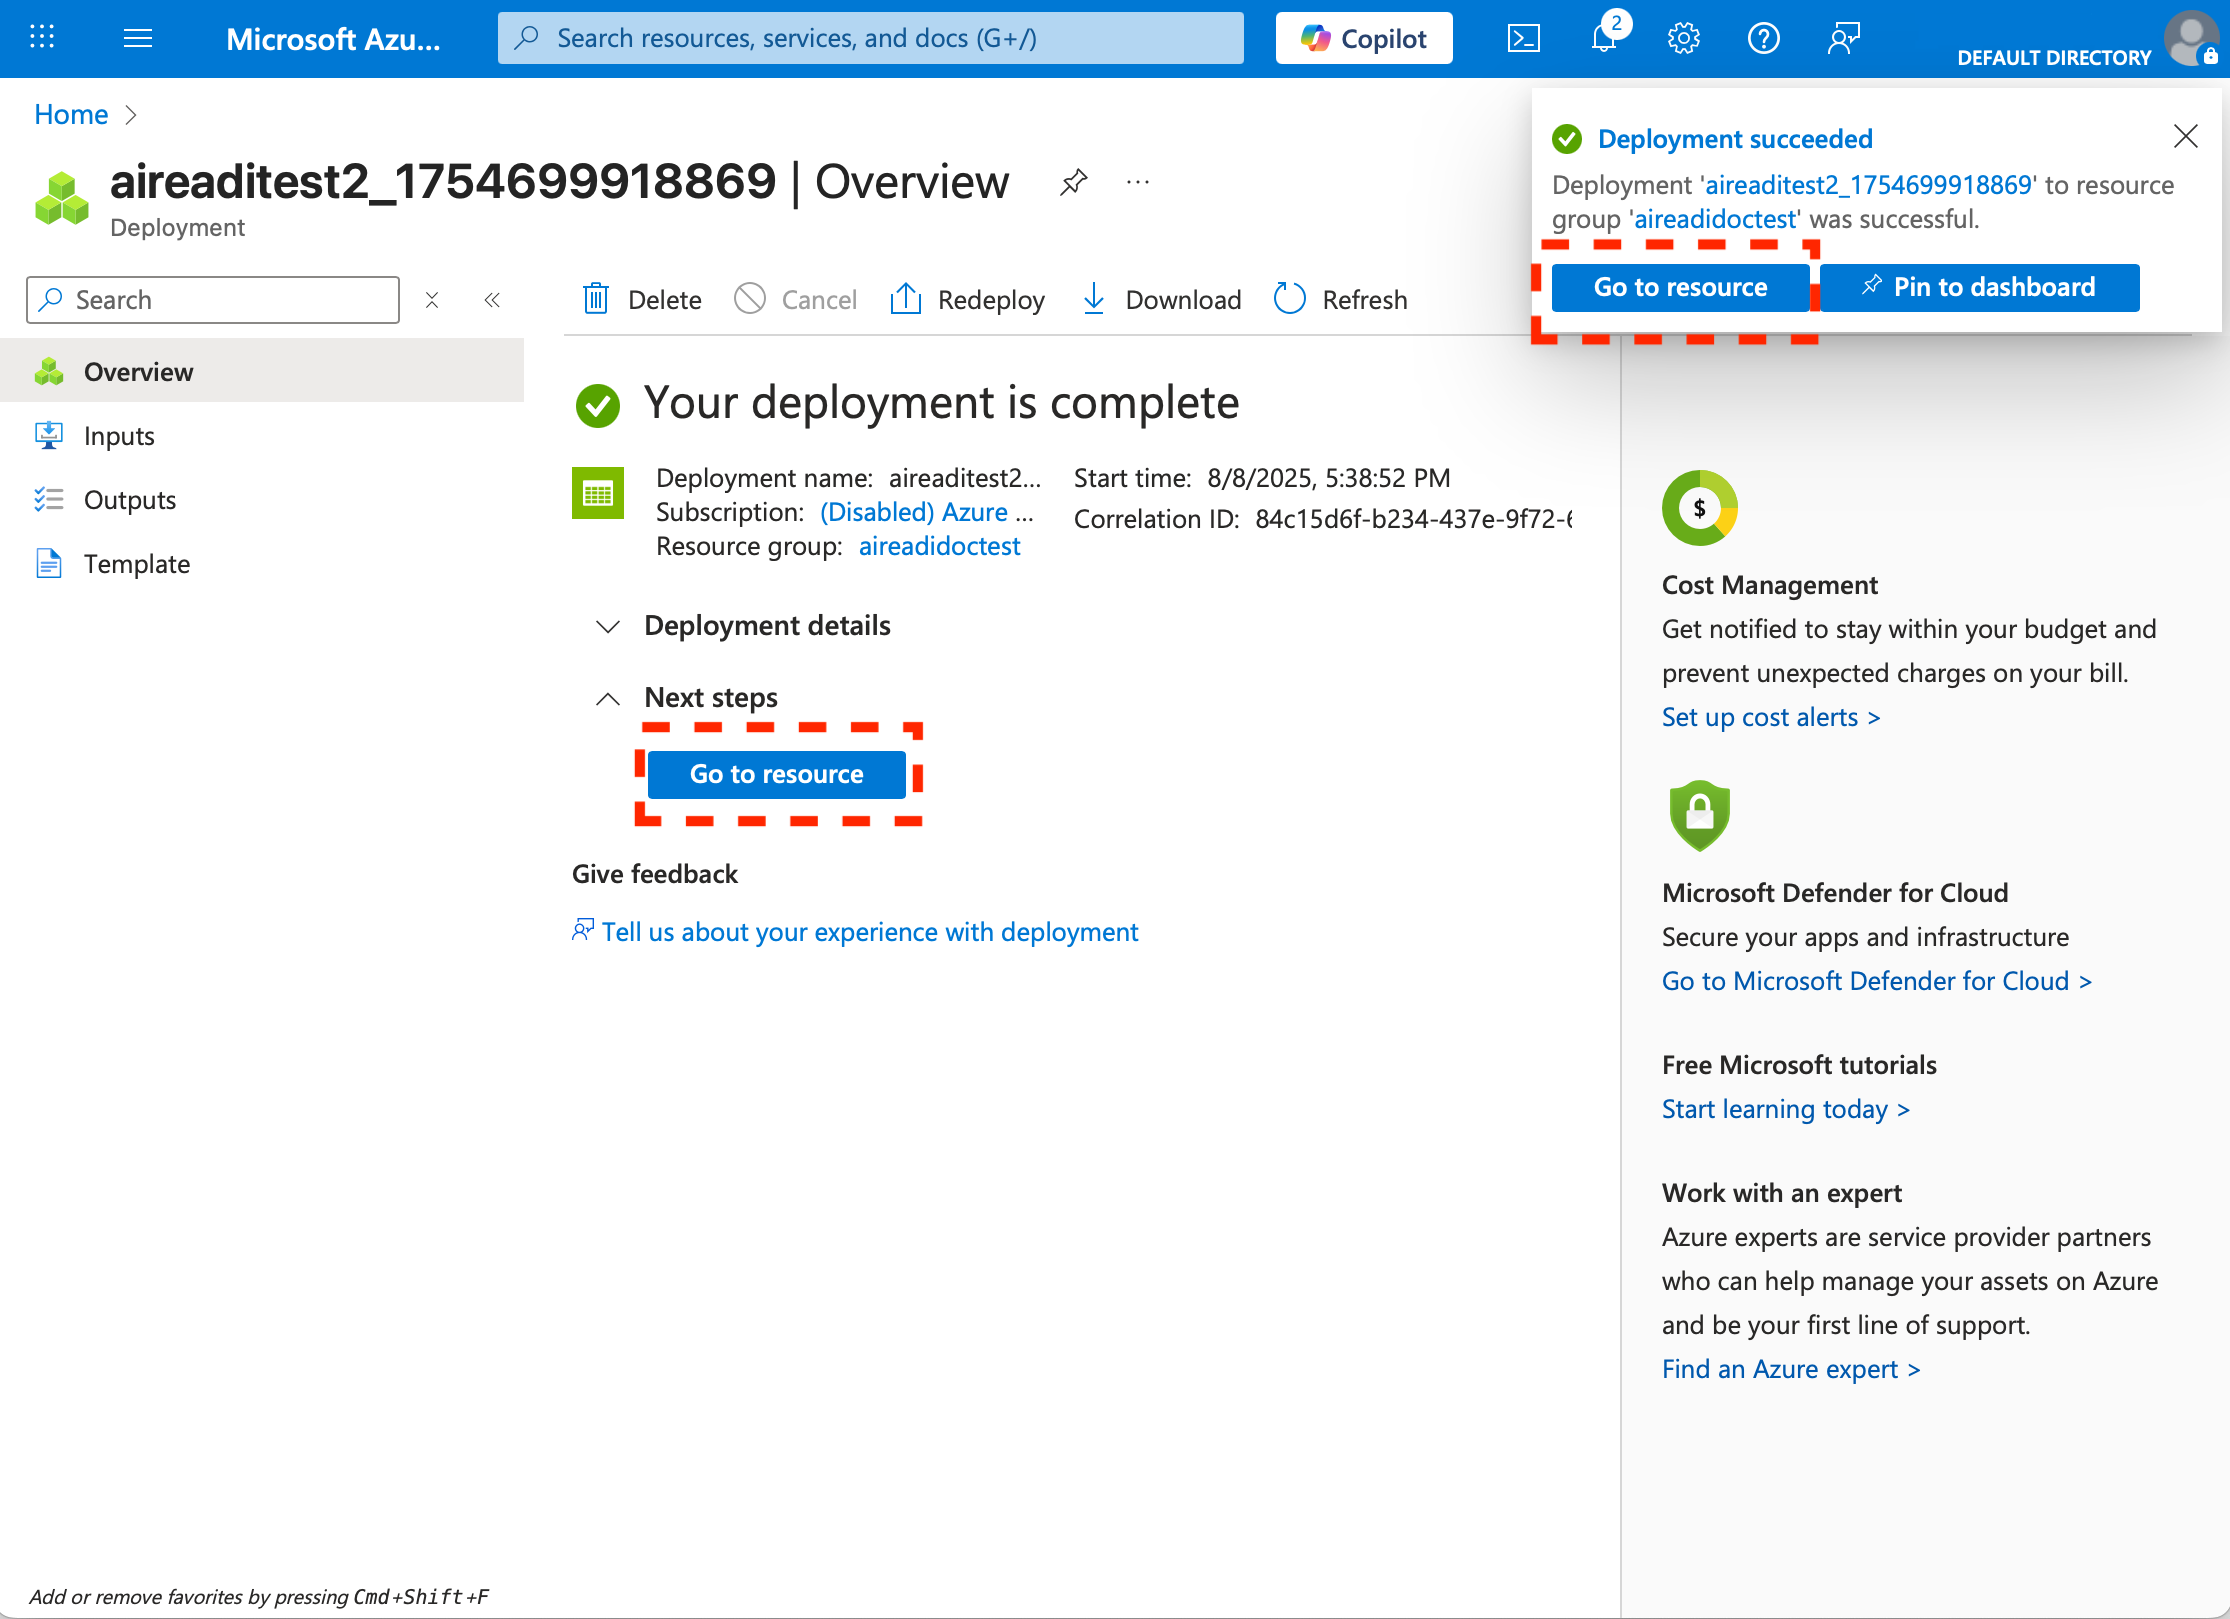
Click "Review + create", then "Create".
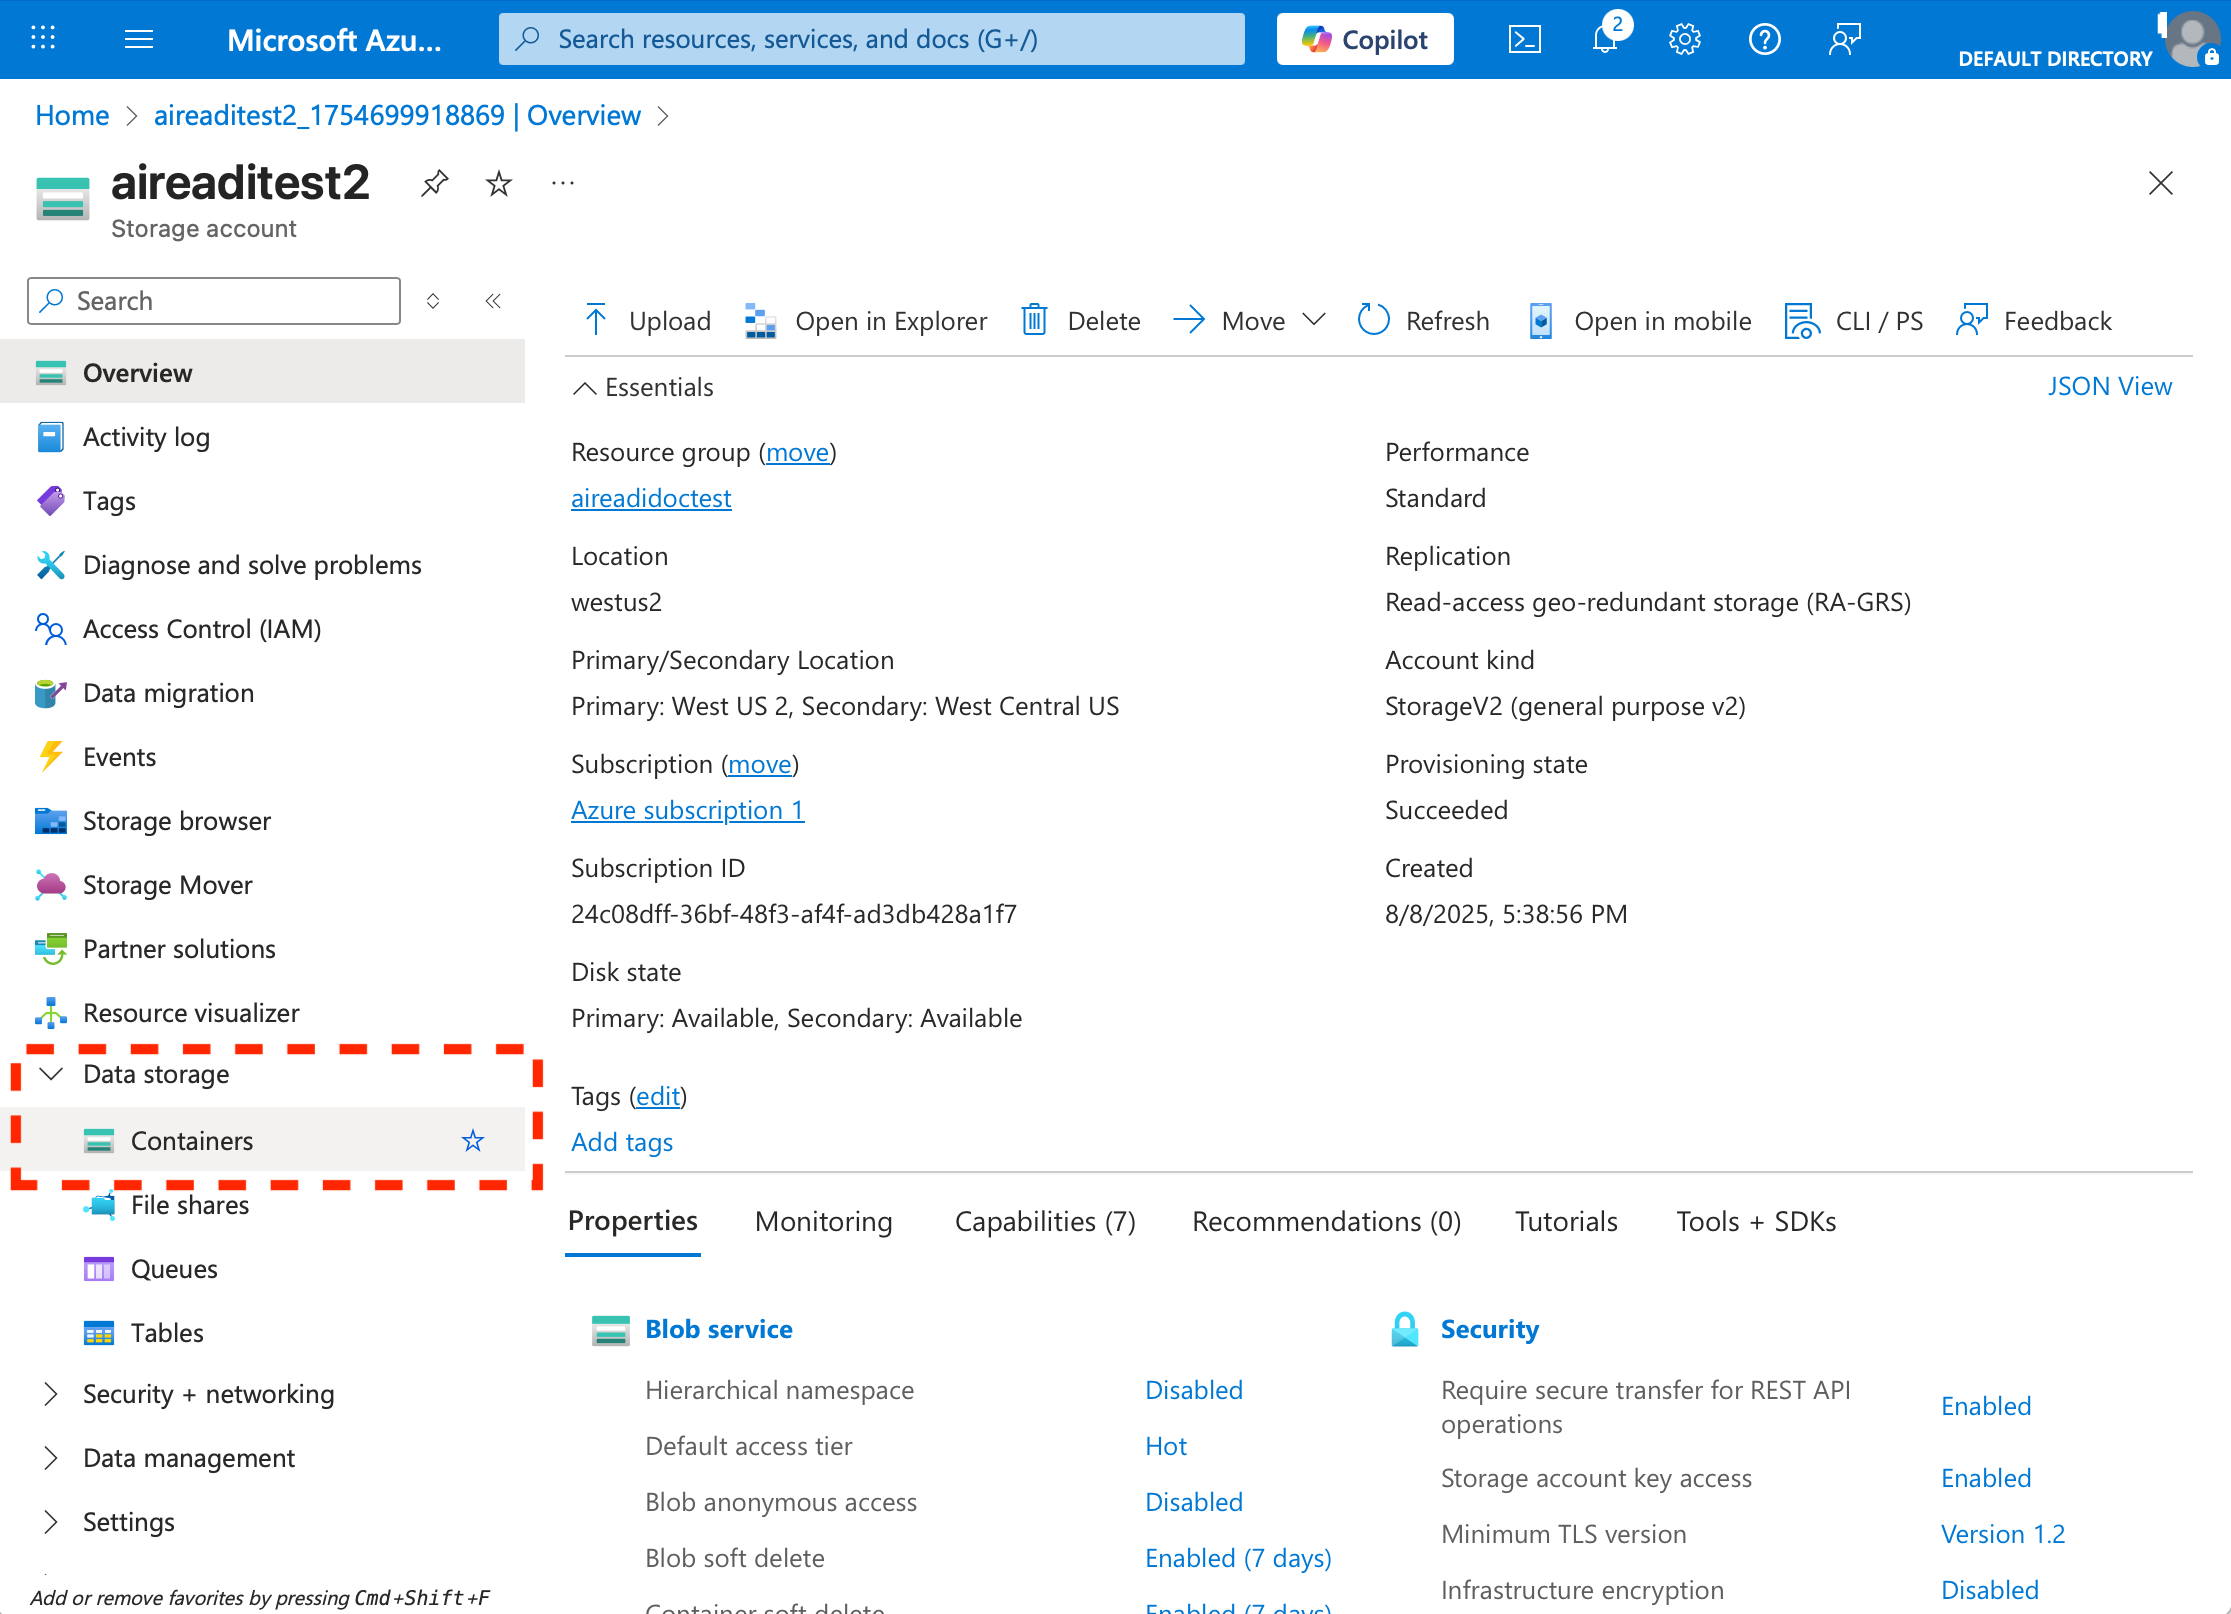
Note: Take note of your Storage Account Name. You’ll need this when requesting the dataset.